Ingredients for making Farmers' Cheese: whole milk, white vinegar, kosher salt and chives, photographed in the glare of the early morning light
Photo: Chronica Domus
As we drove through the countryside headed for the town of Petaluma recently, one could not fail but to notice how green the surrounding hills had become. This brought me much happiness as just a few months earlier the alarming sight of a palette of mahogany and chestnut tones dominated the landscape. Obviously, the drought had markedly taken its toll. A few necessary and welcomed rain showers have now transformed the landscape into a picturesque vision of spring, making the herds of dairy cows that graze along the hillsides very content. I feel most fortunate indeed to live in an area where farmers care for the well-being of their bovine beauties by allowing them to roam freely and graze on pastures green. Not only is this responsible husbandry of benefit to the animals, it is also healthy for us as consumers. I appreciate knowing the provenance of my milk when retrieving it from my refrigerator.
Part of my childhood was spent in Kent, known also as The Garden of England, where the gently undulating hills were more suited to grazing sheep than to cows. Back then, our milk was delivered daily by a milkman before dawn, in pint-sized glass bottles with either red or silver foil tops. It was my job to set out the empty bottles at night and retrieve the fresh delivery each morning from the doorstep. I recall my annoyance most mornings at finding the clever little Blue Tits had already beaten me to the milk. They were skillful masters at pecking their way through the foil tops of our full-fat non-homogenized milk (as that is what we drank back then), and craftily getting at the prized creamy layer that settled on top.
All of these thoughts on where our milk originates, and seeing the cows ambling on the lush hillsides of Petaluma, reminded me that we had not made any cheese for quite some time, something that had to be remedied posthaste. So, early last Saturday morning, we set about the task of making a small batch of a mild and crumbly cheese known as Farmers' Cheese. We have made other cheeses in the past, some requiring several months until maturity, and much fussing and babying as they matured within their cloth bindings or wax coatings. In contrast, this cheese can be eaten as early as the day it is made, although it tastes even better the following day. I want to assure you that making deliciously fresh, home-made Farmers' Cheese is not as daunting as one would imagine, especially when considering the ingredients required to do so are readily found at the most basic of food markets; whole milk, white vinegar, salt and, optionally, some fresh herbs. Neither complex additions of enzymes and cultures are required, nor any special equipment besides a large pot, a kitchen colander and a square of muslin or cheesecloth.
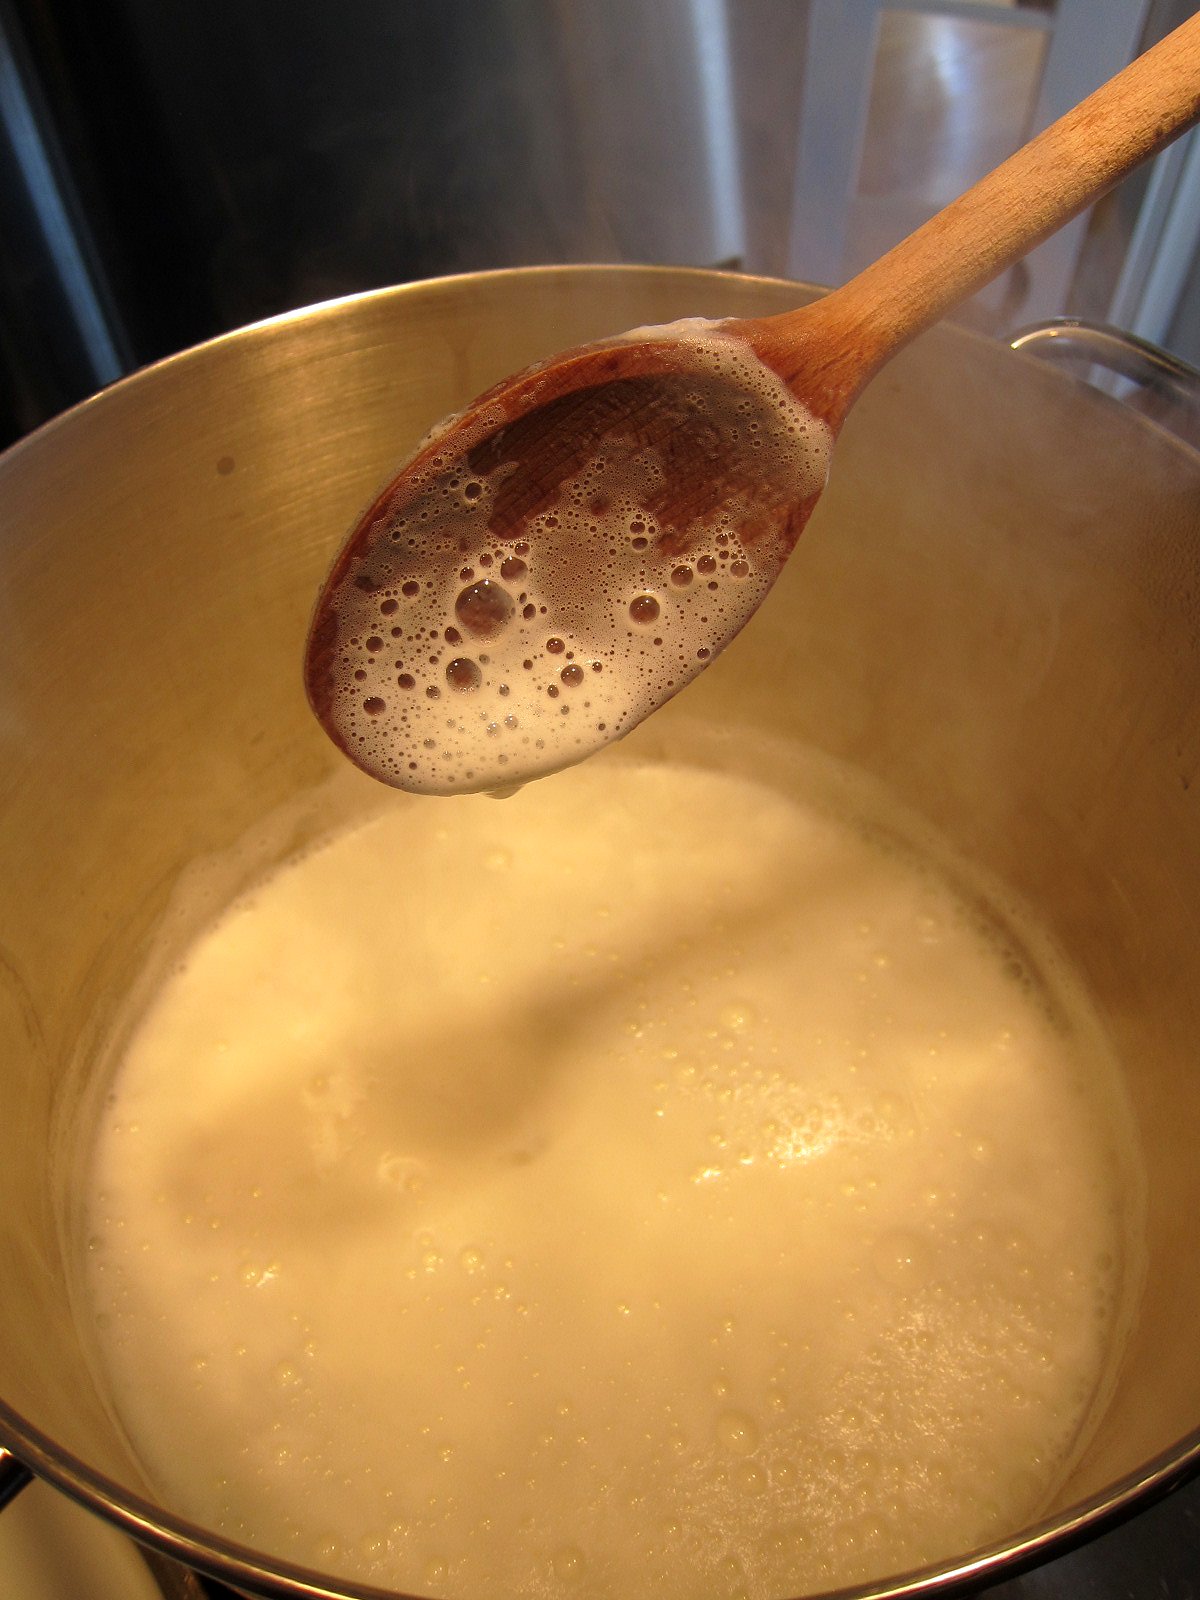
To begin, a gallon of organic whole milk (never ultra pasteurized) is poured into a stainless steel pot and gently heated over a medium flame. One must insure that the milk is continuously stirred so it does not scorch and stick to the bottom of the pot.
Milk being transferred to the pot from our ceramic jug
Photo: Chronica Domus
The milk is almost at a rolling boil
Photo: Chronica Domus
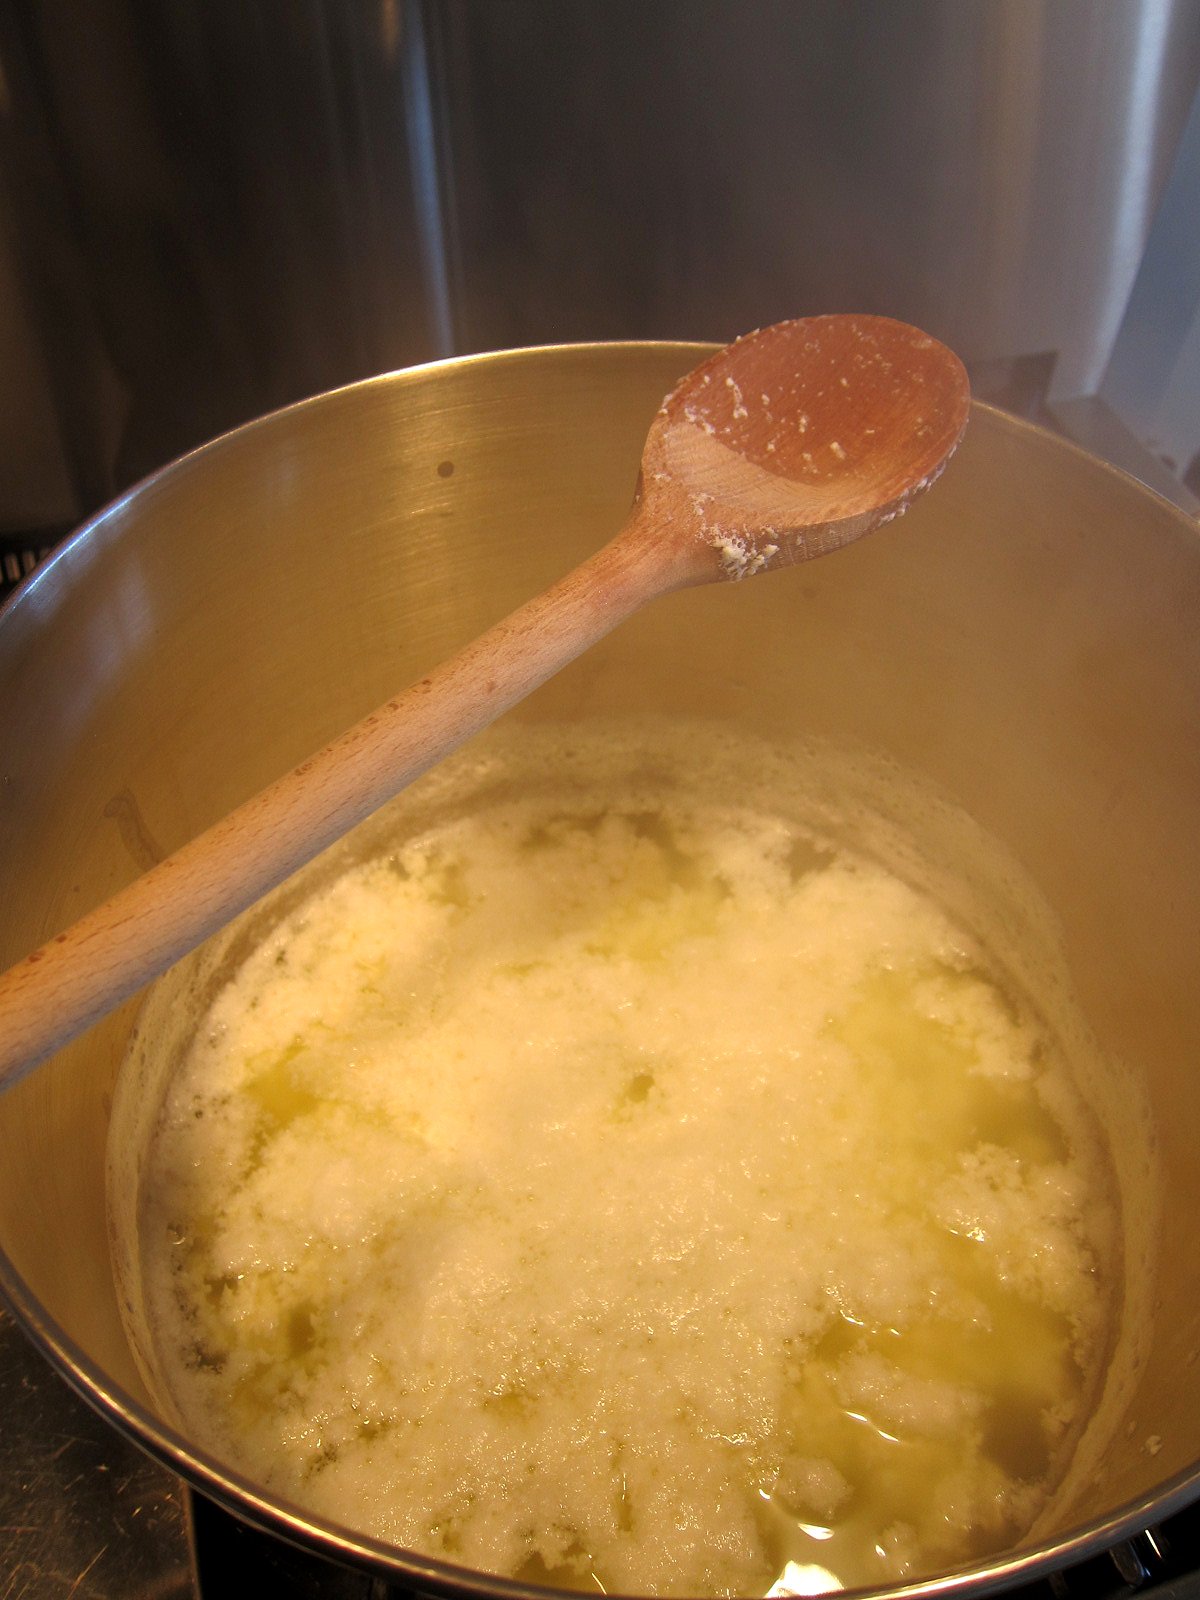
Just as soon as the milk reaches boiling point, immediately switch off the heat and stir in three quarters of a cup of white vinegar. There will be an immediate reaction to the vinegar and one will witness the magic of milk separating into its constituent curds and whey, a sight Miss Muffet would welcome.
In goes the white vinegar
Photo: Chronica Domus
Miss Muffet would be proud
Photo: Chronica Domus
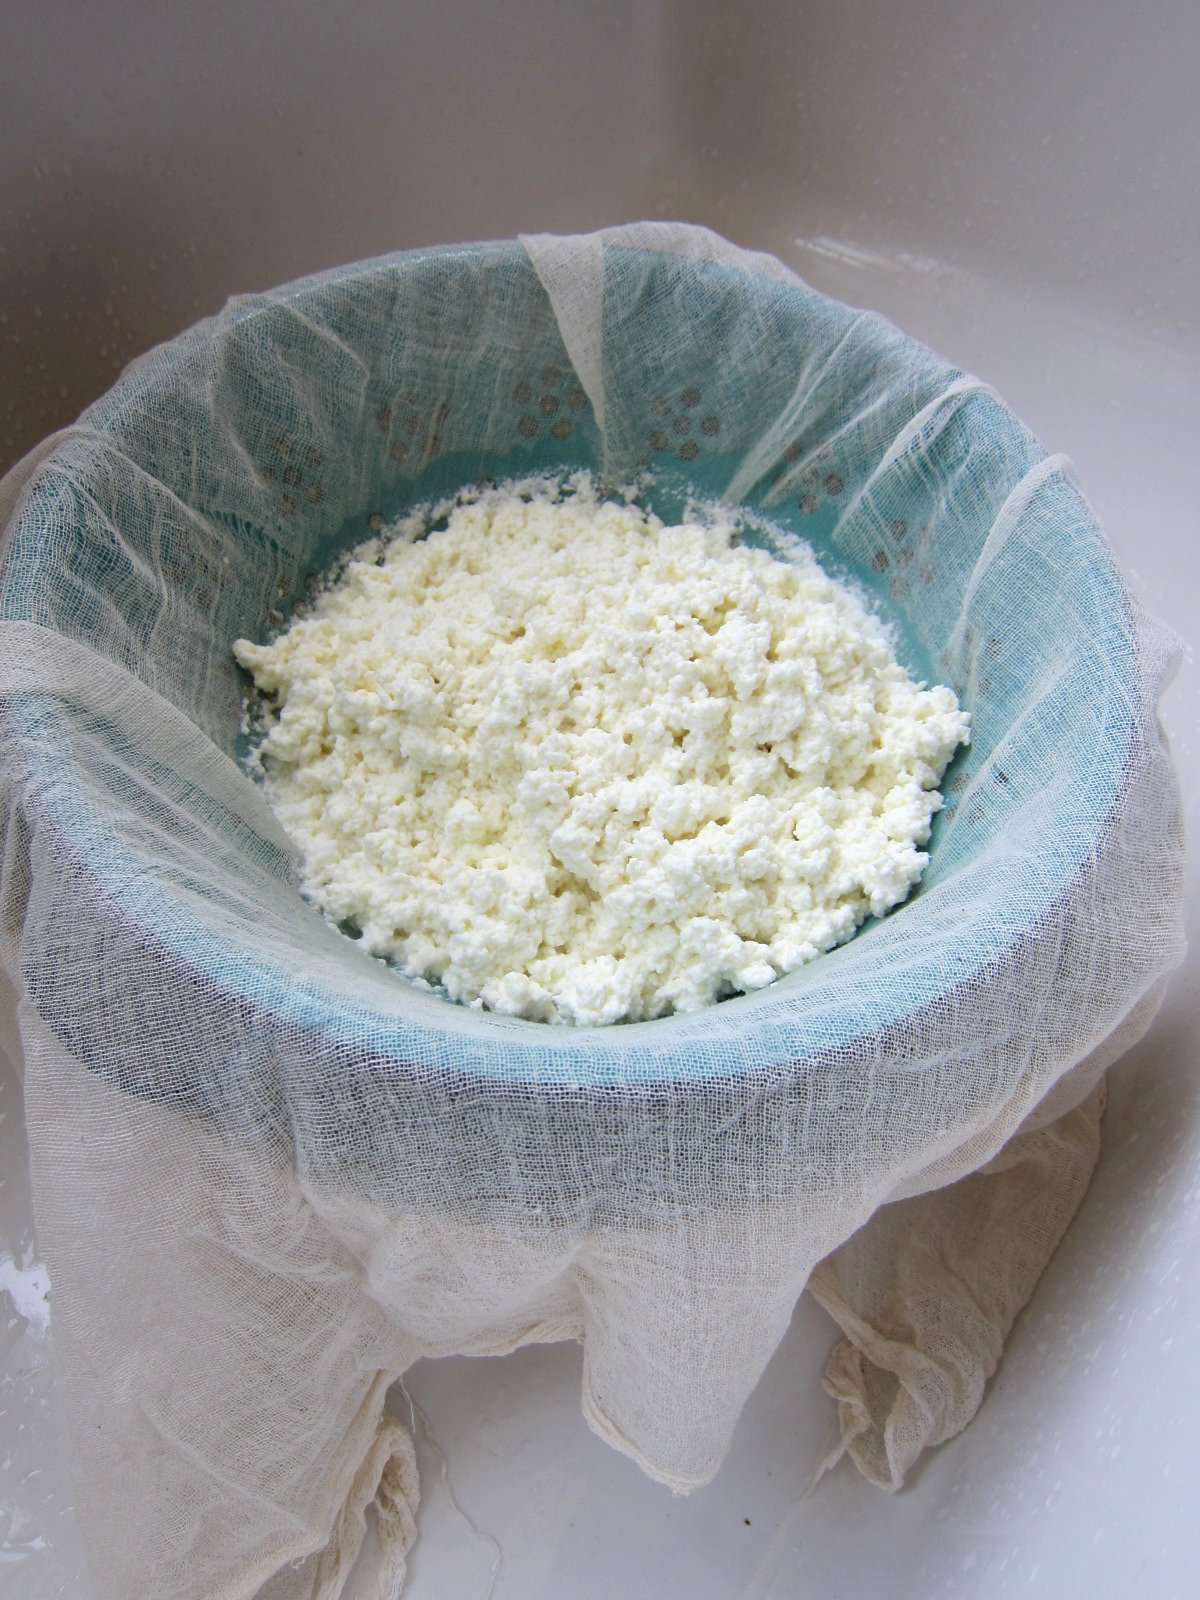
While the curds are being allowed to cool undisturbed for about twenty minutes, prepare a colander in a sink by lining it in a layer of muslin, or two layers of loose weave cheesecloth. By now, you should feel like a satisfied dairy farmer in your very own home kitcheen. It is a gratifying feeling to discover that a gallon of milk, a little vinegar and some heat can produce approximately a full pound of cheese.
The next step in the process is to pour the curds into the colander to drain off the liquid, known as whey.
Draining the curds of their whey
Photo: Chronica Domus
You will be left with a beautiful heap of fluffy white curds resembling something akin to the consistency of cottage cheese.
The drained curds
Photo: Chronica Domus
To aid in further draining, remove the muslin from the colander, with the curds intact, and hang from a wooden spoon over your pot, as demonstrated in the photograph below. Do resist the temptation to rush the process by squeezing the curds.
The curds now hanging in their cheesecloth sack
Photo: Chronica Domus
Allow the muslin sack to drain for twenty minutes before removing it and placing the curds in a clean ceramic bowl. Slowly add desired amount of salt. We like to use kosher salt to flavor our cheese, but regular table salt will also suffice. How much salt is added is dependent on your personal taste so do sample the cheese as you go along.
Drained curds ready for salting
Photo: Chronica Domus
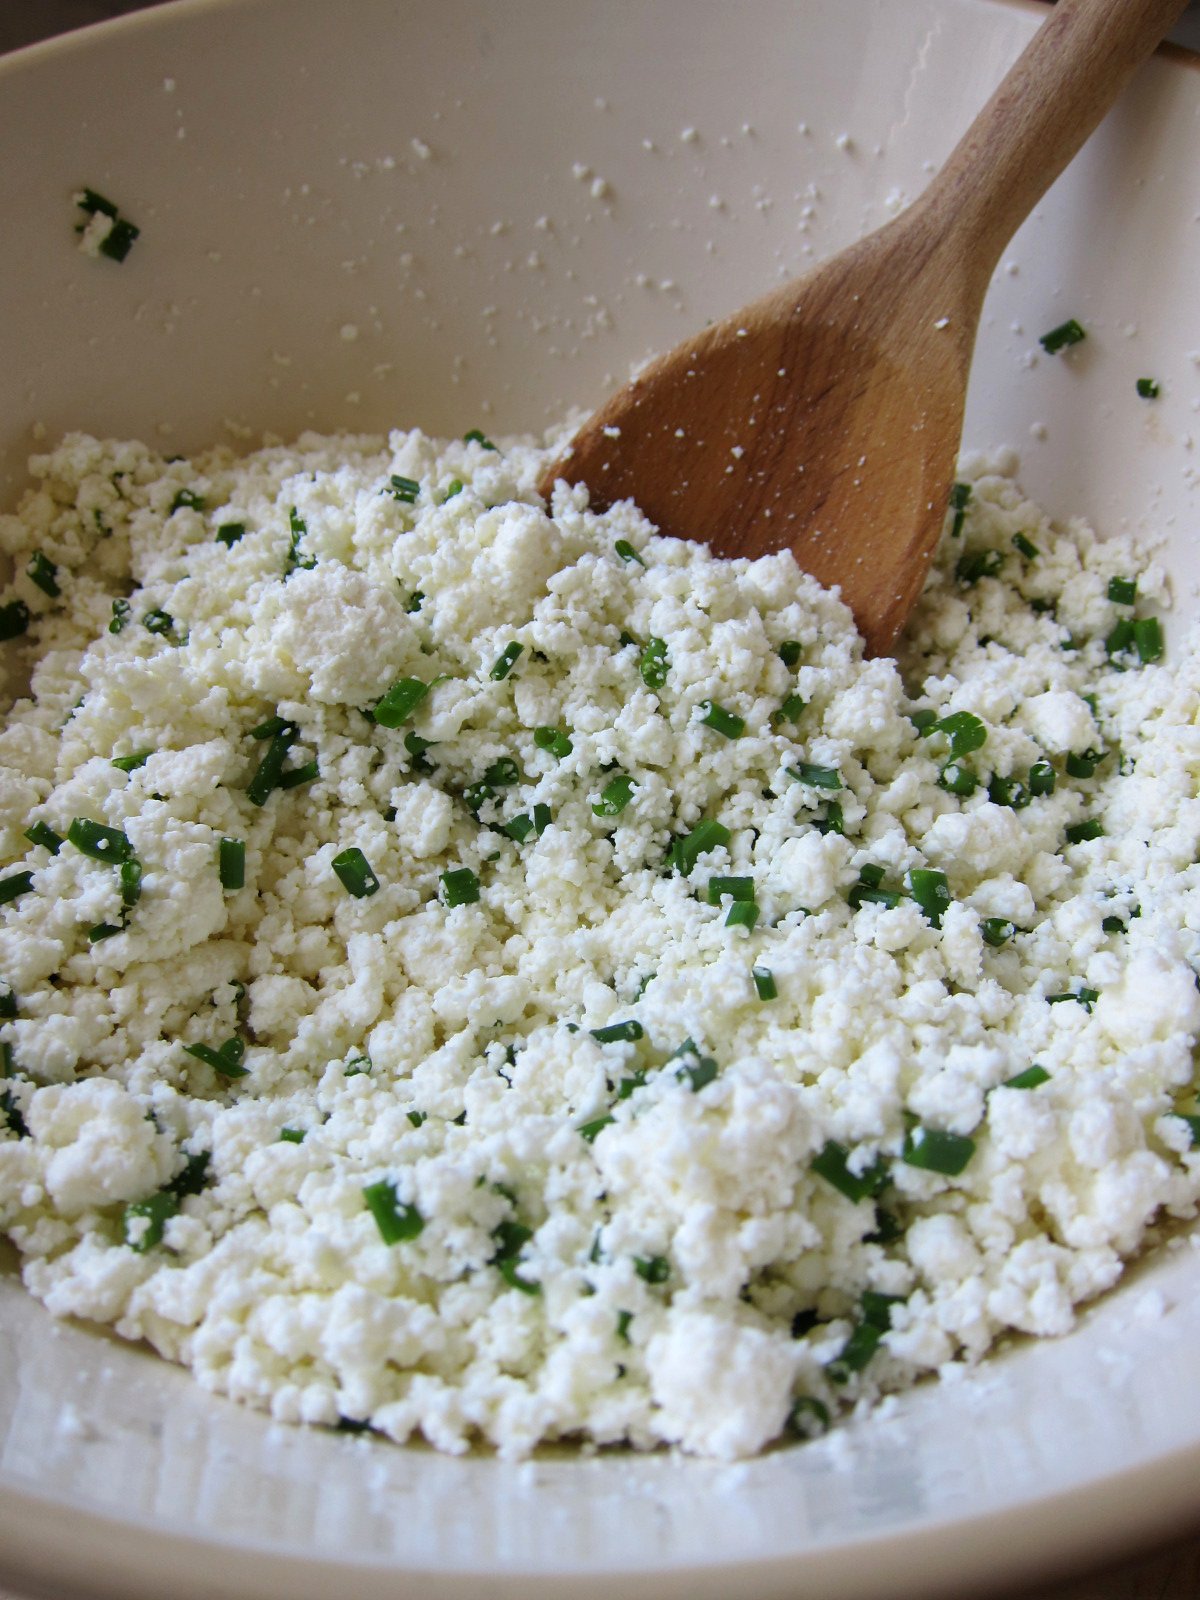
We enjoy all manner of cheeses in our household, from the very pinnacle of pungency, the great "king of cheeses" Stilton, to the delicate mildness of Fromage Blanc. However, Farmers' Cheese is a mild and agreeable cheese indeed. Once salted and allowed to firm up in a mold, it can be eaten as is, on grilled bread, or accompanied by seasonal berries as a delicious breakfast treat. If like us you enjoy a little more flavor to your cheese, add some freshly chopped herbs to the curds and infuse them with a little more character. On this occasion, we added a bunch of fresh chopped chives, but other combinations of herbs work too. We have in the past experimented with parsley, thyme, and even caramelized roasted garlic.
Chopped chives awaiting the curds
Photo: Chronica Domus
Chives thoroughly distributed throughout the curds
Photo: Chronica Domus
Once you've added your herbs, brush a layer of olive oil to the inside surface of three small bowls (we used cereal-sized bowls for this task). The oil will aid in the removal of the cheese once it has set and is ready to be served. Fill the bowls with as much of the curd mixture as can fit, and then tamp it down to flatten the surface. Line the cheese with a layer of plastic wrap, and set the bowls within your refrigerator allowing the curds to become firm and cold.
The cheese is tamped down into bowls
Photo: Chronica Domus
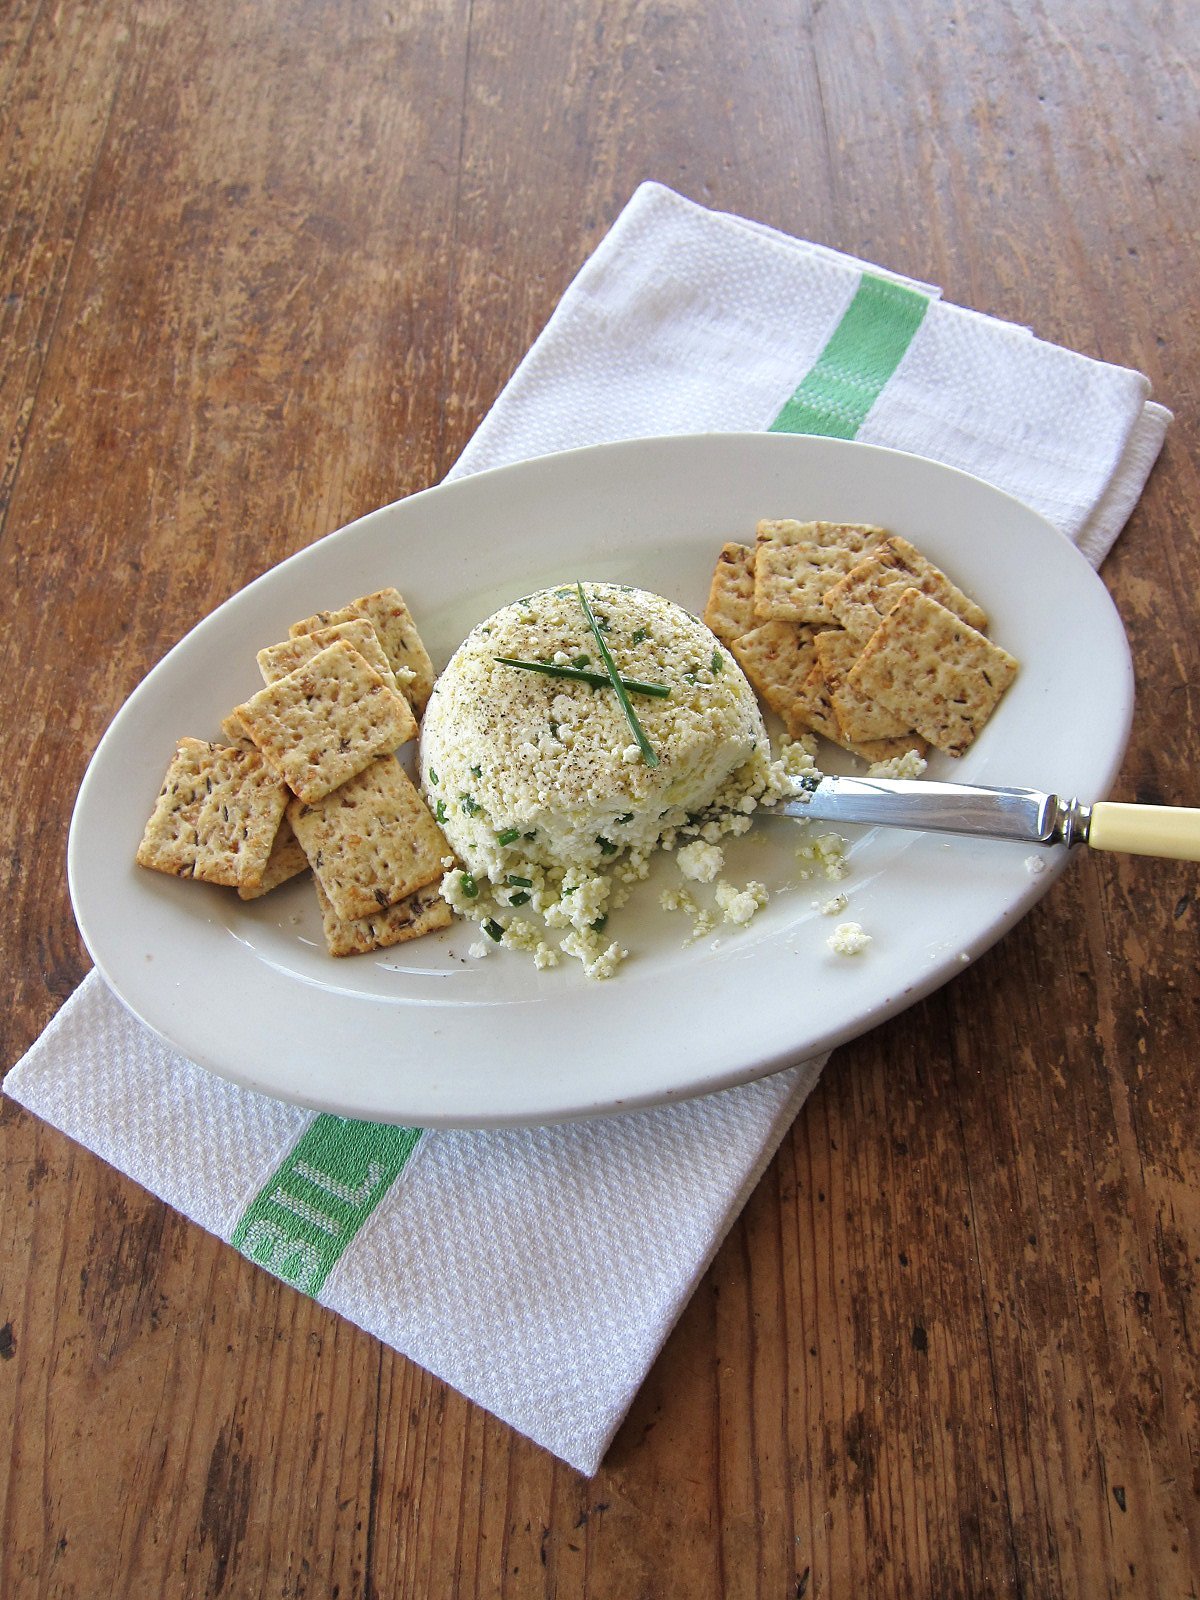
When you are ready to devour your culinary efforts, gently run a sharp knife around the cheese to loosen it from the bowl, and invert it onto a serving platter. A trickle of good quality extra virgin olive oil, and a crack or two of the pepper mill will assure you of a satisfying hors d'oeuvre accompanied by a glass of wine and some grilled bread or crackers. I guarantee not a morsel will remain for dear Miss Muffet.
Won't you help yourself to a bite or three?
Photo: Chronica Domus
What a pleasurable experience it is to serve fresh cheese, made directly at one's kitchen stove, with milk that was locally produced by cows that have actually been allowed the freedom to graze on grass. It gives one a taste of the ideal bucolic existence right in the heart of town.
Have you tried your hand at cheese making or anything else that connects you to your nearby agricultural community? Perhaps I've inspired you to make Farmers' Cheese?


